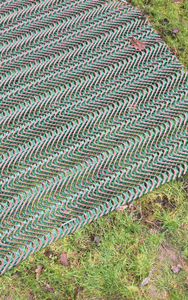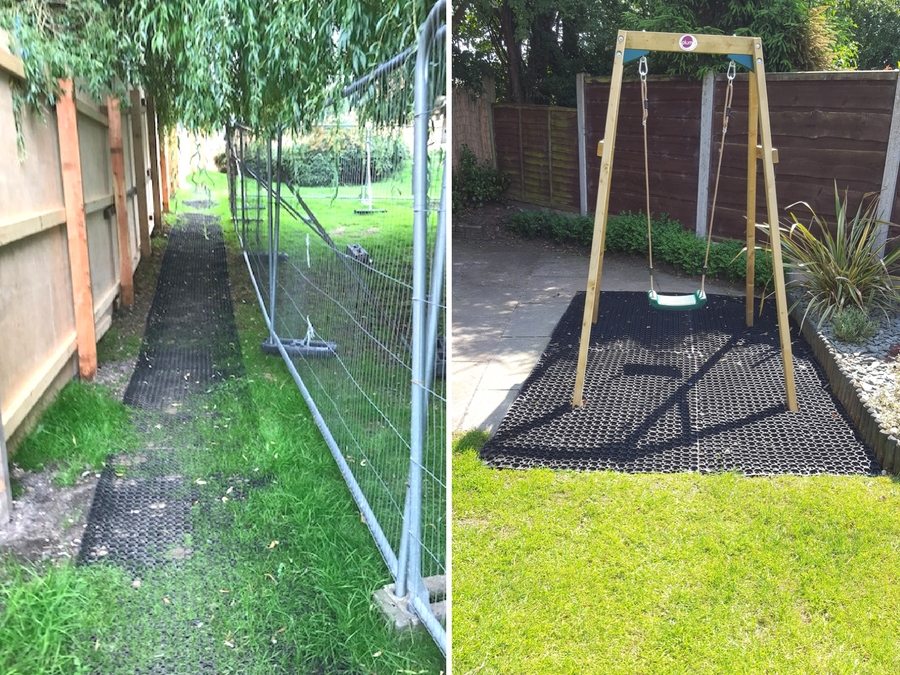
We’ve all been there, sat in the car revving and revving trying to get our car out of the mud, but its no use, the wheels are digging themselves further and further in. Someone has to get out and push or you’ll be there for a while… What if I told you there is a simple solution to this far too common problem? Our grass reinforcement mesh is fixed to the ground and gives you grip, after a few months it can become almost invisible too. The grass is able to grow through the gaps provided to keep a natural look. Michael encountered the same ‘wheels stuck in the mud’ problem most of us have, see how the TurfMesh has performed for him by reading on.
Jump To:
| The Project | The Work | Conclusion |
The Project
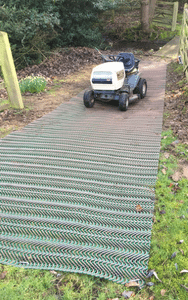
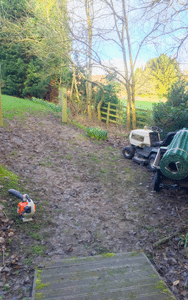
Michael (Michael’s Garden Services) called us at the start of March as he was having a problem accessing his work shed at the bottom of the garden with his Drive on Lawnmower. With the especially wet British winter, driving up wet and muddy hills is nearly impossible without destroying the grass and leaving a permanent reminder of where your wheels have been. Our customer service team recommended using our Grass Reinforcement Mesh, this allows your tyres to grip whilst not affecting the grass underneath.
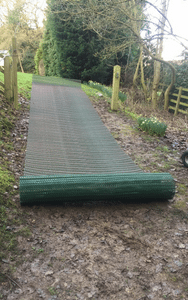
The grass reinforcement mesh actually blends in with the grass once it has grown through following a month or so of growth. Michael ordered the TurfMesh and Steel U-Pins from us on the 1st March and completed the project a week later. Read on to see how Michael used our Turfmesh.
The Work
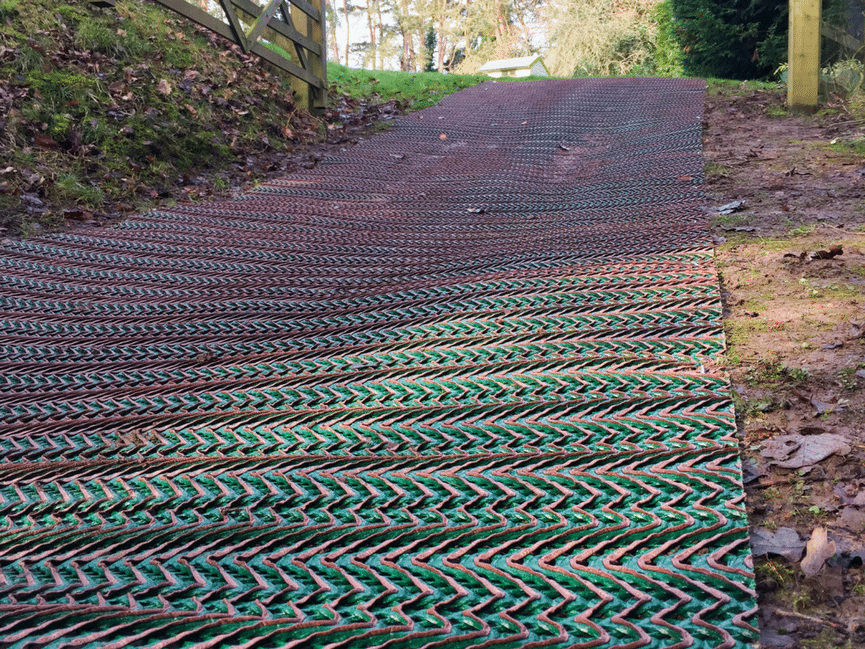
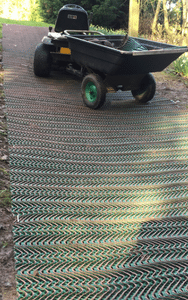
As you can see in the photos, the hill in question is rather steep. Without using our grass reinforcement mesh Michael would have struggled to get back up the hill.
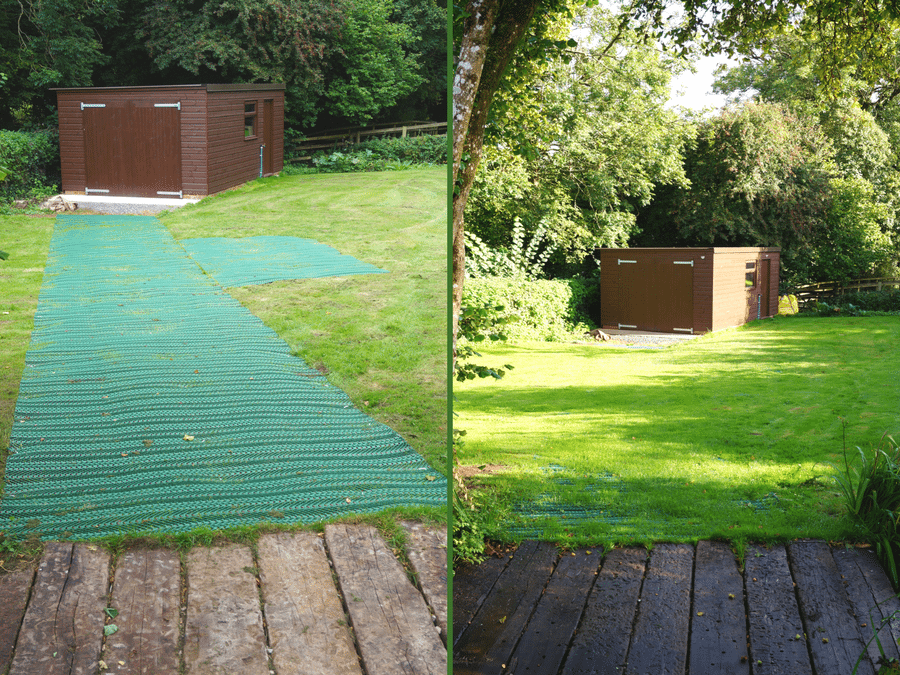
To start off, Michael used his leaf blower to make sure any loose leaves or bushes would not be under the mesh, had he left them the grass would not have been able to grow naturally through. Next, the roll was pegged at the top of the hill to enable the rest of the roll to be released down the hill. Michael then rolled out the mesh slowly and pegged it down as he went along. This made sure there was no baggy or loose mesh that could move around when drove or walked on.
Once at the bottom, the mesh was pulled as tight as possible and the last pegs were put in place. Finally, the pegs were then double checked and driven further into the ground making sure they wouldn’t come loose any time soon!
Conclusion
Once Michael had finished laying and securing the mesh, he took these photos for us, climbed on his lawn mower and drove up his mesh covered hill with ease. He is incredibly pleased with how the entire project has turned out, without our mesh he might still be stuck down at the bottom! The mesh was easily laid using the pegs and he would absolutely recommend us to others.
Our TurfMesh is made from 100% recycled post consumer plastic, so not only are you gaining a pathway but you’re helping towards reducing the amount of plastic waste that is taking over our earth at an alarming rate.
A huge thank you to Michael, for taking these photos and sending us the information to create this blog post.
If you have any questions regarding our products don’t hesitate to get in touch!
Here are more images of Michael’s installation;