As your family grows older there may come a time where it feels like there are more cars than people in your home. This is what Tony in our case study was finding and since moving into his new home had his car scratched by passing cars when leaving his on the side of the […]
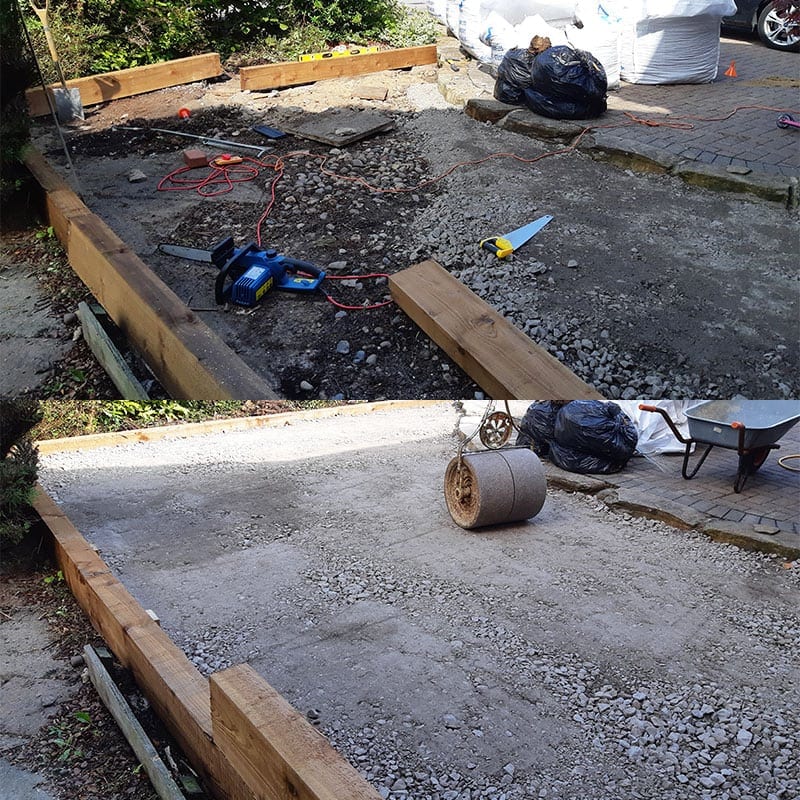
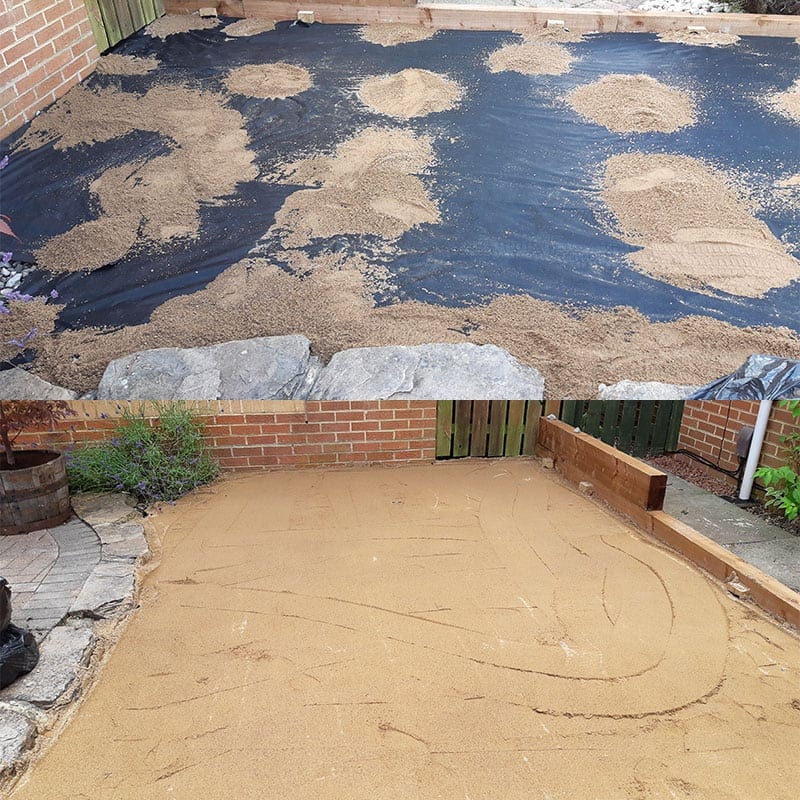
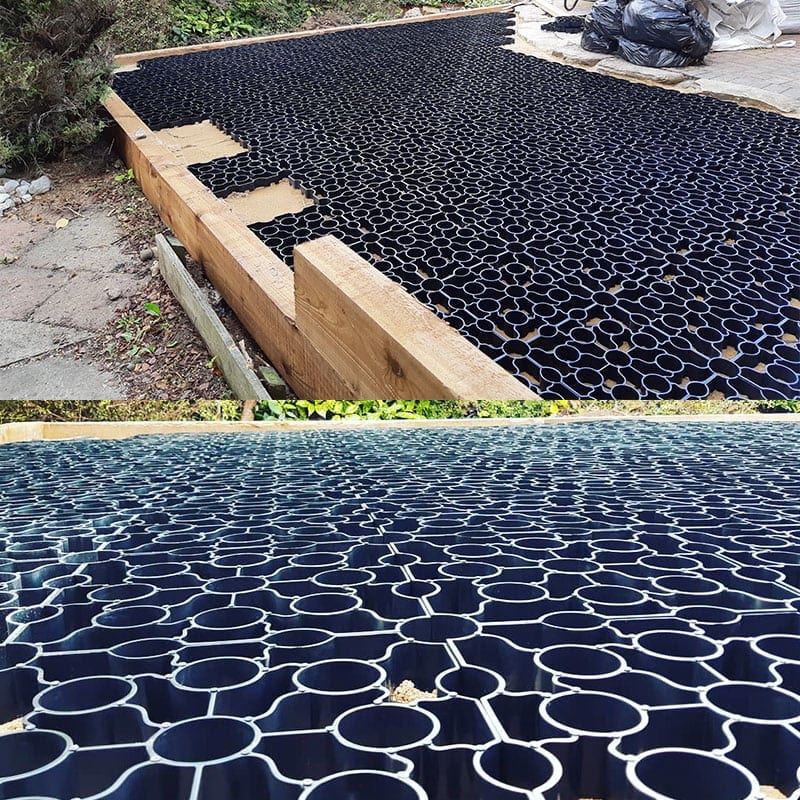
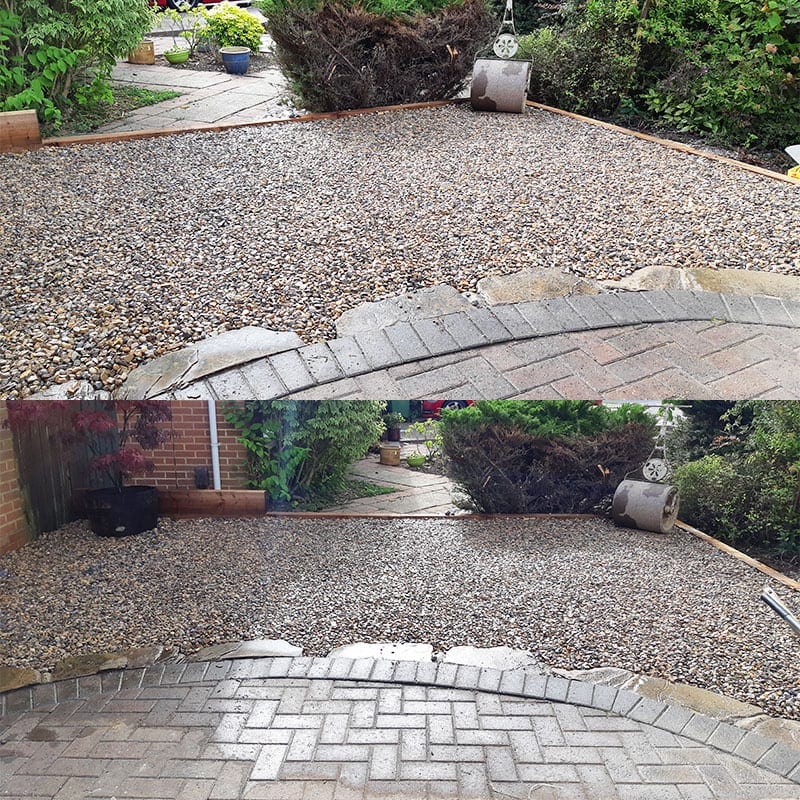
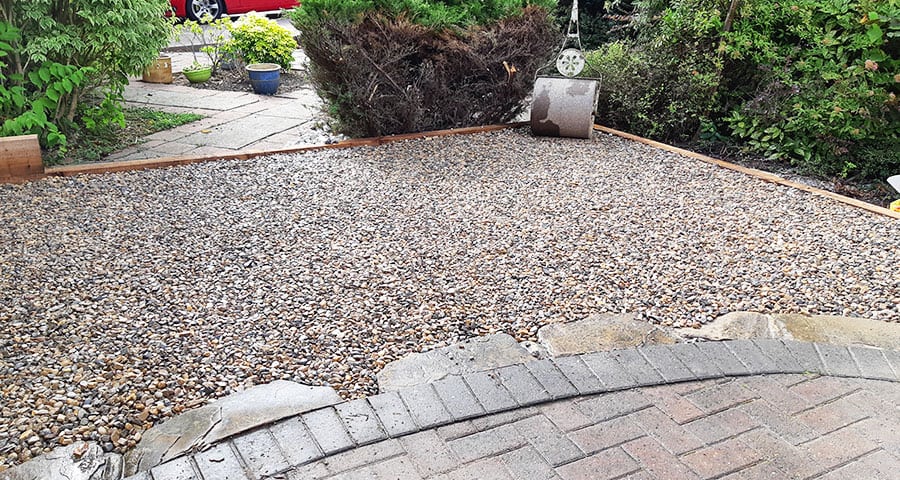
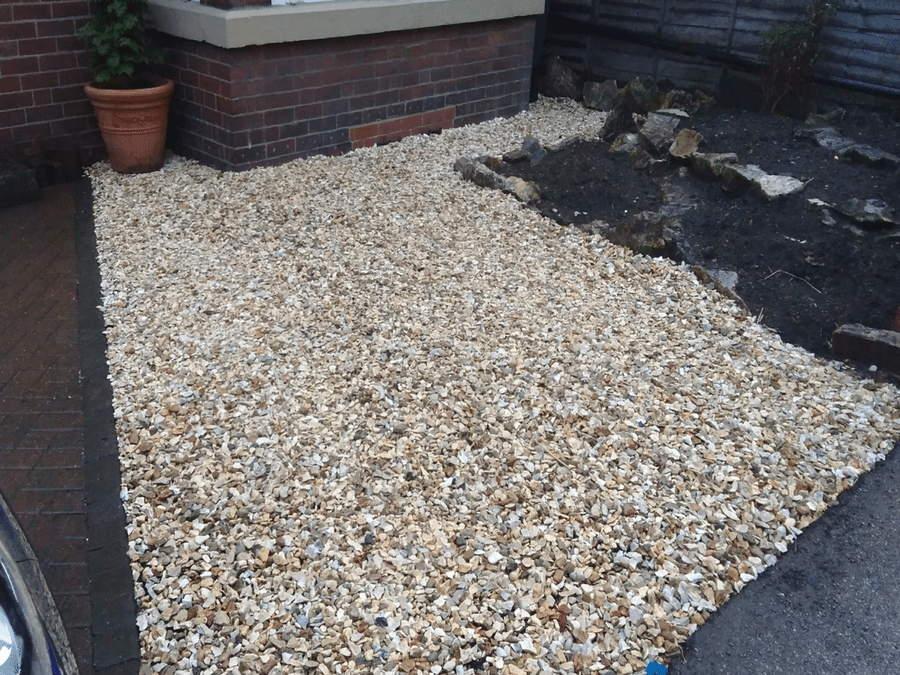
This latest article comes courtesy of Paul who had a large gravel front garden next to his current concrete driveway. He wanted to start parking on part of the garden but it was not suitable due to the strength, possibility of sinking into the gravel and migration. Paul told us: “We replaced the grass on our front […]
Maintaining the visual appeal of your gravel driveway Gravel is a great alternative to concrete and asphalt in making outdoor spaces, including garden paths and driveways, functional and attractive. Additionally, gravel may also be used for general landscaping to offer a beautiful contrast around the garden or when sprucing up borders as well as flower […]
HI, can you send out info on your products jrd landscapes 211 cambuslang rd glasgow g72 7ts. thanks jim.
Hi Jim,
You can see all of the relevant information regarding X-Grid® by following this link: X-Grid® Product Page
Kind Regards,
Callum