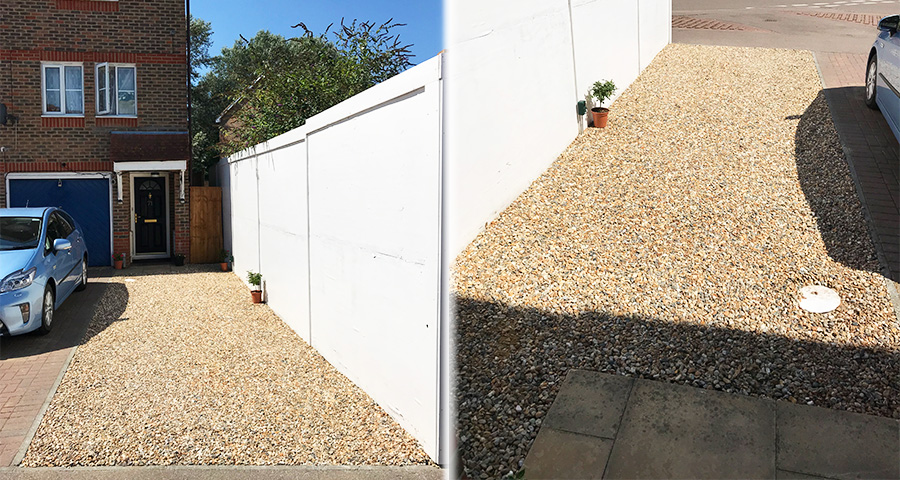
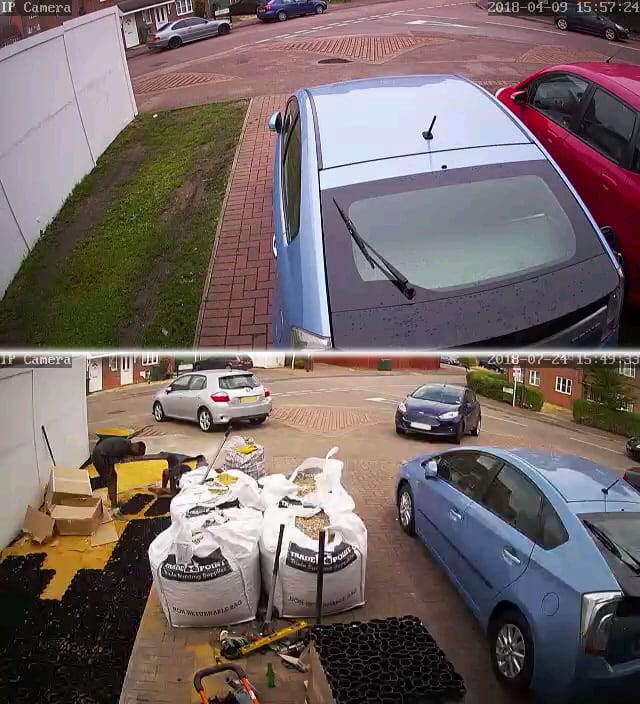
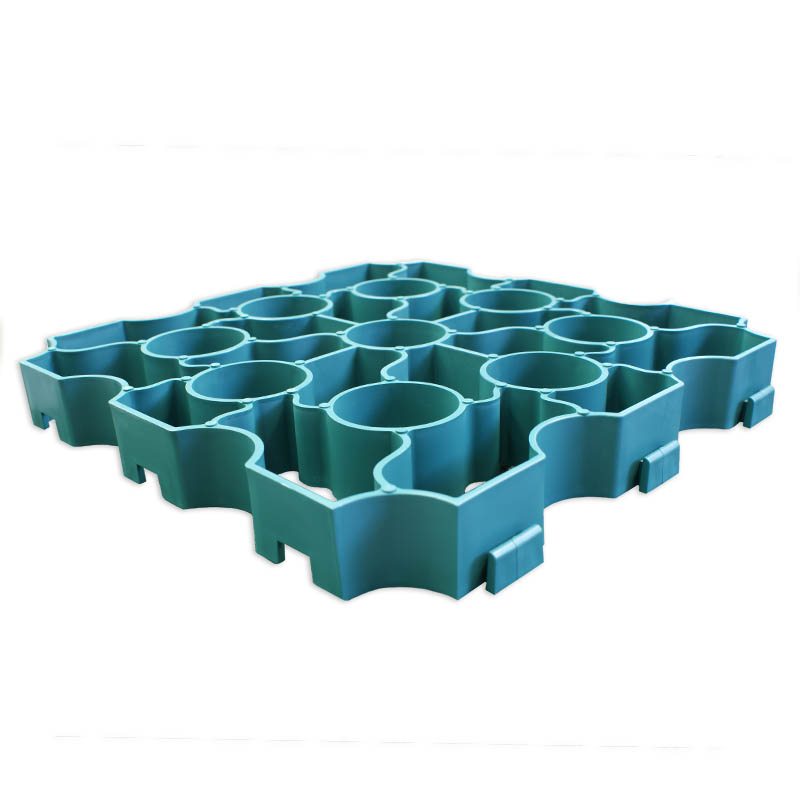
This latest case study comes from Babatunde who was looking to replace a muddy grass patch at the front of his home where his children parked their cars. The cars had taken their toll on the grass leaving him with a muddy patch with two large tyre tracks on. He decided to replace the grass with gravel but didn’t want the migration that comes with free standing gravel areas. Read on to find out what Babatunde decided to do:
Choosing X-Grid
Babatunde told us: “I researched on the internet to find out more about gravel driveways with little or no gravel migration and soon came across your website and X-Grid plastic paving grids.”
He began reading up on X-Grid’s many benefits such as: massively reducing gravel migration, being able to hold 420 tonnes per square metre, being fully permeable and also being UV & weather resistant. Babatunde was very impressed with the gravel grid and decided to order enough to cover his required area.
He continued: “To begin the project, I ordered 20m² of Black X-Grid which was delivered to me within three working days.”
Installing Gravel Driveway
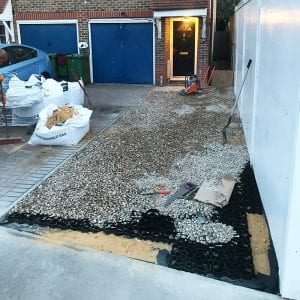
Once his 20m² of X-Grid had arrived, Babatunde could begin his installation. He talked us through the process of installing his gravel driveway:
Conclusion
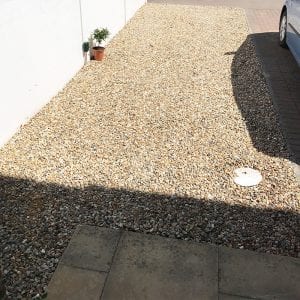
Babatunde is incredibly happy with his new gravel driveway and it looks fantastic! The installation was straight forward and has been very effective, providing a solid parking space and with no migration.
He told us: “I am very pleased with my gravel driveway project. My neighbours and people driving past my house during the project were also very impressed with the Black X-Grid panels I used for the project.”
A big thank you to Babatunde for choosing to use our X-Grid and then for sharing the photos and details of his project with us. If you have photos of your installation to share with us then please do not hesitate to contact us and your work could be featured on our website!
Find out more
To find out more about X-Grid Reinforcement Grid and how to install a gravel driveway, call us on 01246 418144.

