50m² X-Grid Gravel Patio - Featured Image
Ground Reinforcement Patio Blogs

50m² Black X-Grid® Gravel Patio Installation

This case study comes from Andrew who was looking to extend his current concrete patio and create a large L shape gravel patio that would start next to the house and move up the side of his garden replacing some of his existing turf. However, having a concrete or wooden patio can lead to slippery conditions through rain or freezing temperatures and this wanted to be avoided. To do so, Andrew wanted to find a suitable solution that would not become slippery in wet or freezing weather, read on to see what he decided to us:

Finding and buying X-Grid

Andrew began searching for a paving solution to see what alternative products he could find. After a little browsing he came across our X-Grid® and began reading up on its many benefits such as being fully permeable even when filled with gravel so there would be no stagnant surface water that could be slippery or possible freeze too. On top of this, X-Grid® is also very strong (able to hold up to 420 tonnes per sqm), is easy to install, is UV & weather resistant (can deal with winter temperatures and summer temperatures too) and is made from 100% recycled plastic.

Andrew was so impressed with what he read about our ground reinforcement grid that he ordered 50m² of X-Grid®. His order was dispatched the same day and arrived with him just 2 working days later.

Finding and Buying X-Grid
X-Grid's permeable charateristic eridicates stagnant surface water

Installing X-Grid® Gravel Patio

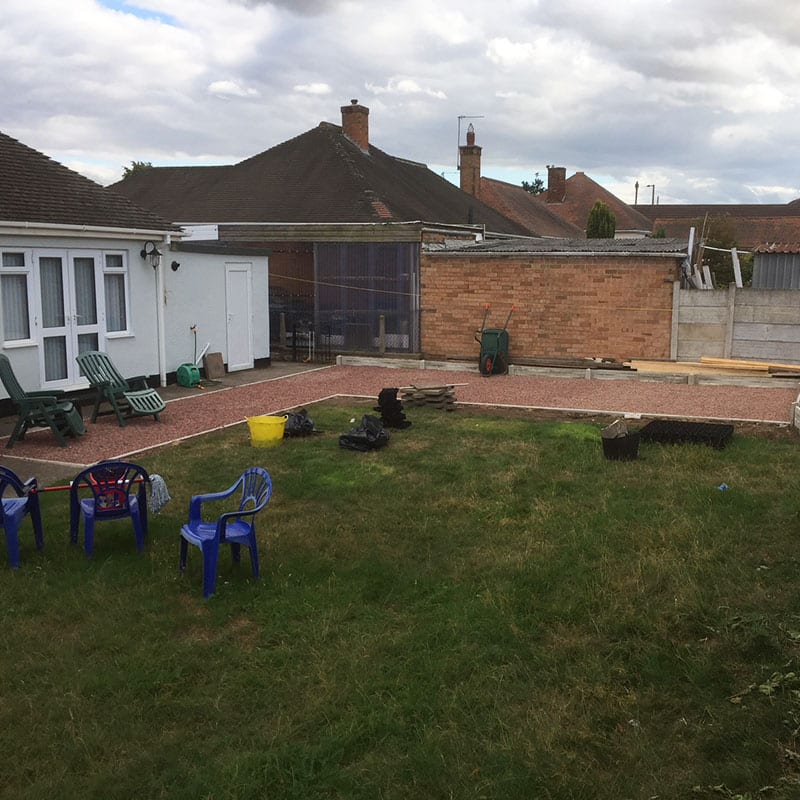
Once his X-Grid® had arrived via pallet, Andrew began his installation as soon as he could. As well as the grids, he had also purchased hardcore, concrete borders and a red like angular gravel.

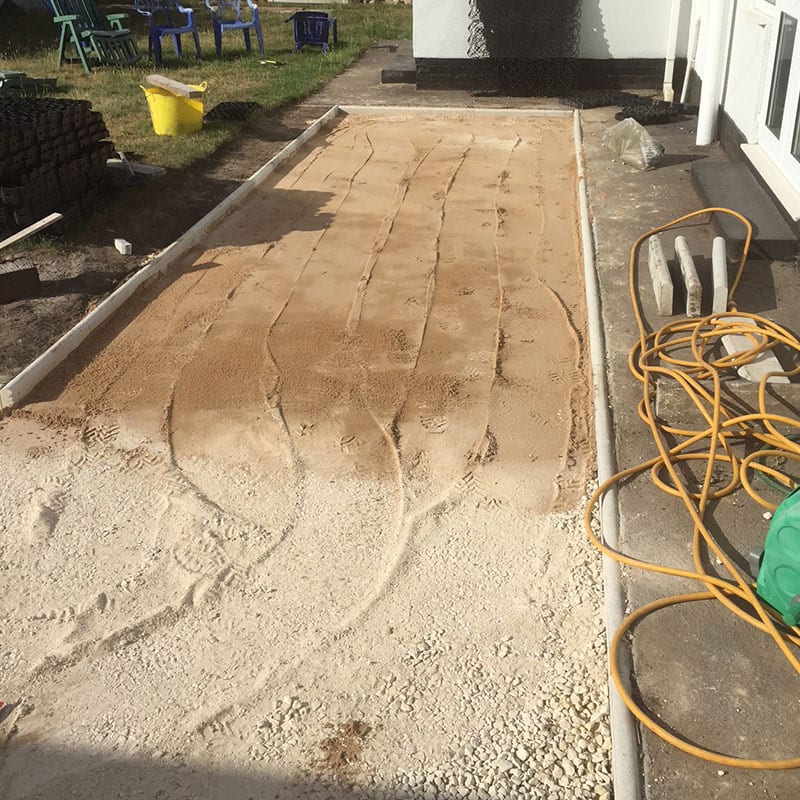
The install began with the marking out of the borders of his new patio area, he did this using string to create a guide as to where the edge of the patio would come to. From here, Andrew dug down and excavated a few centimeters of turf and soil from inside the now marked out area to leave an exposed soil base.

Next, Andrew began installing his concrete border, he dug down a few milometers at the edges where the borders would stand before putting them in place and back filling to ensure they would not move before the patio was completed.

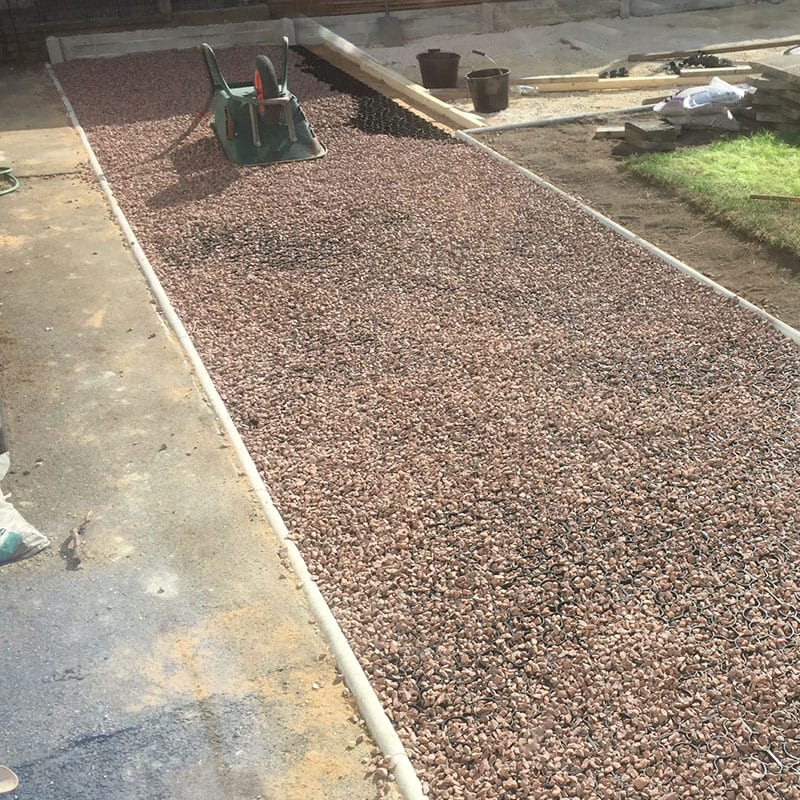
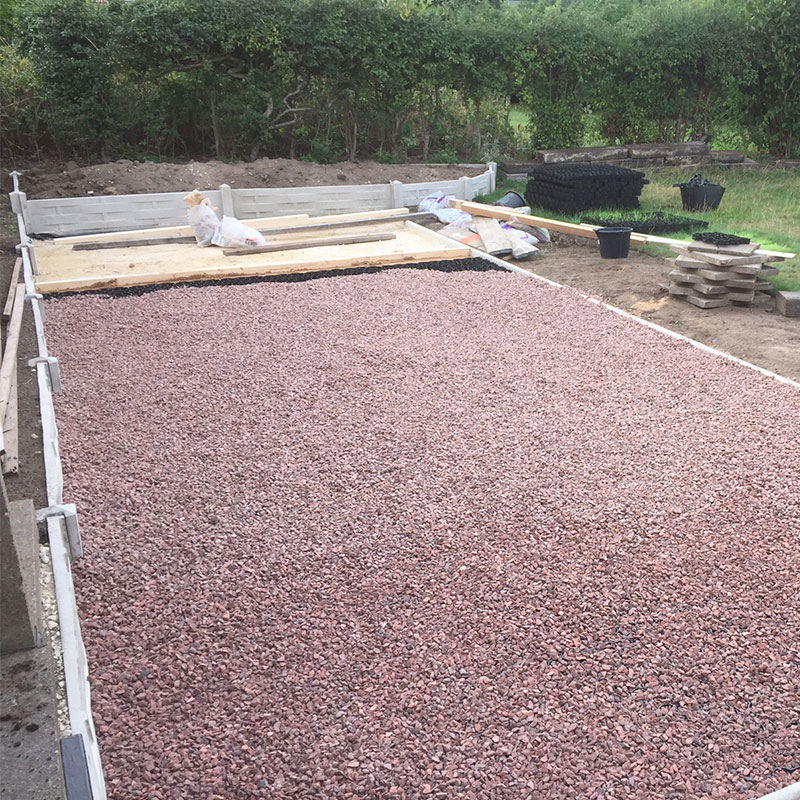
With the border in place, Andrew’s next job was the sub-base. A solid and level sub-base is vital to creating a great paving system. To create his, Andrew laid and spread a layer of hardcore to cover all of the exposed soil. Using a whacker he compacted down all of the hardcore to create a solid surface which would not move under the X-Grid® and gravel but would still allow water to drain away.

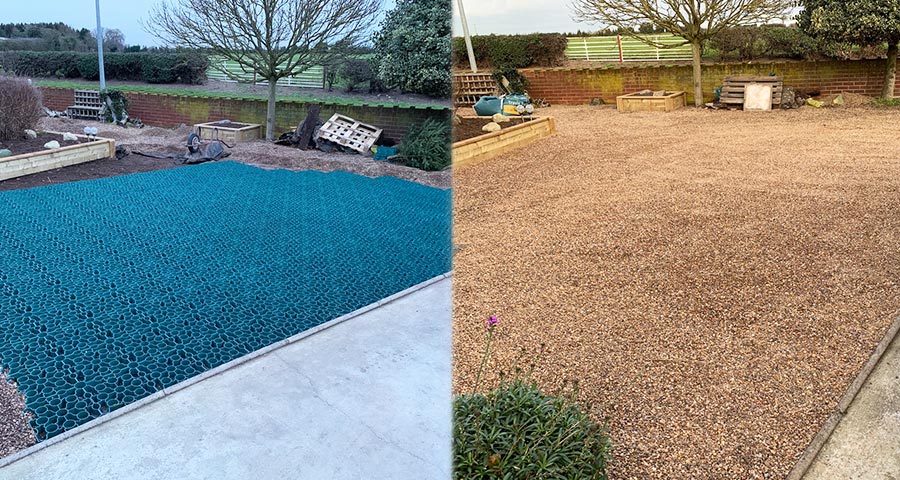
On top of the hardcore Andrew could begin installing his X-Grid®, he began in one corner and laid one panel at a time connecting each neighbouring piece together as he laid them using its specially designed slot and peg system. The process of lay a panel and connect to surround panels was repeated until the entire area had been covered which did not take too long.

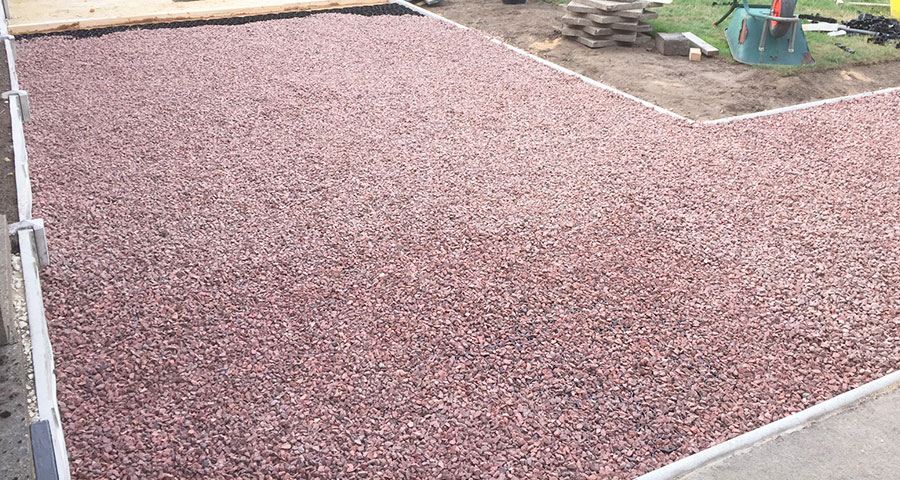
Finally, all that was left to do was for Andrew to fill the grid with his newly purchased red gravel and the project is completed. Around 8kg of gravel is required to fill each individual panel so you can estimate how much gravel is required to complete the full area.

Installing X-Grid® Gravel Patio
X-Grid was installed after excavating an area and adding the sub-base
Installing X-Grid® Gravel Patio
The X-Grid installation process did not take long, says Andrew

Conclusion

A big thank you to Andrew for choosing to use our X-Grid® and then for sharing the photos and details of his gravel patio installation with us. The patio looks absolutely fantastic and will be a safe area that can be used all year round without!

If you have any images of your project using our products to share with us then please do not hesitate to contact us and your install could be featured on our website!

Gravel Pation Installation Conclusion
For more information about X-Grid contact our team

Leave a Reply

Your email address will not be published. Required fields are marked *