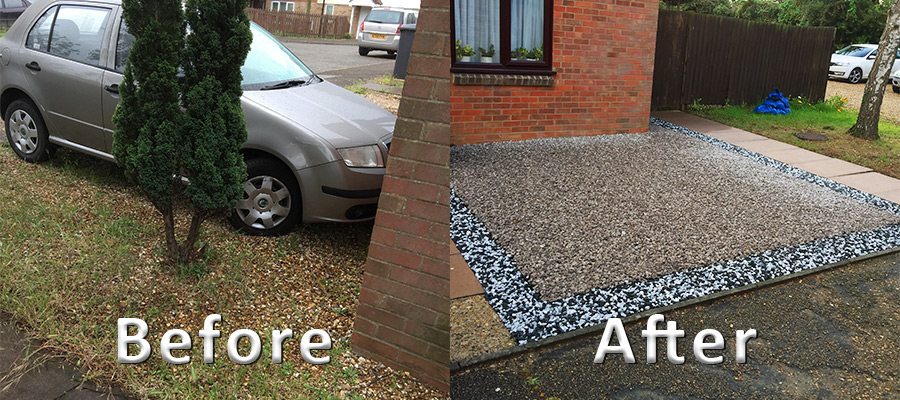
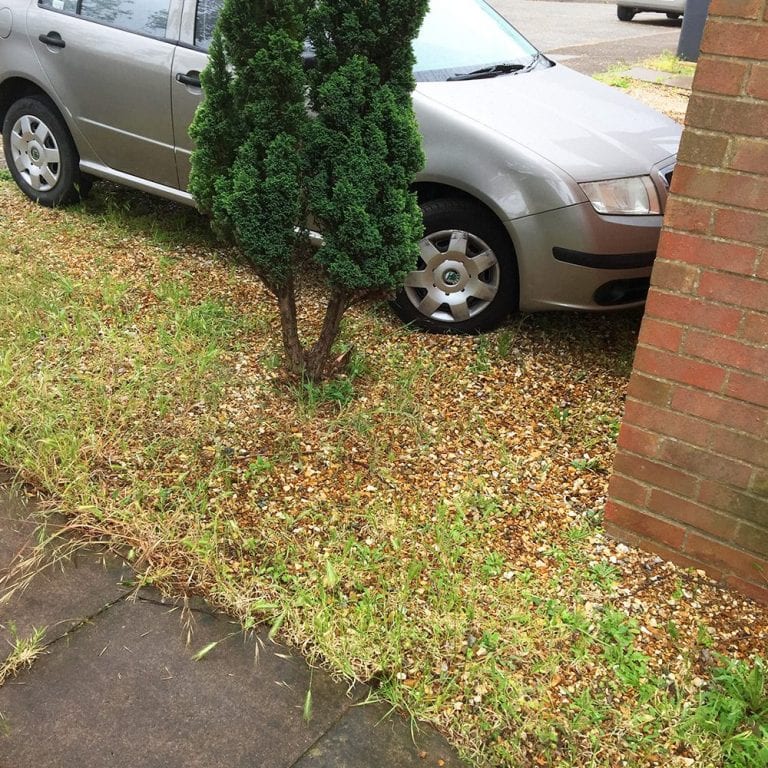
As you may have seen in our past blogs, installing a Gravel Driveway can completely transform the front of your home. This is what Filomela was attempting to do in this case study, she had a grass patch where she used to park her car but wanted to change this into a strong and attractive gravel driveway instead.
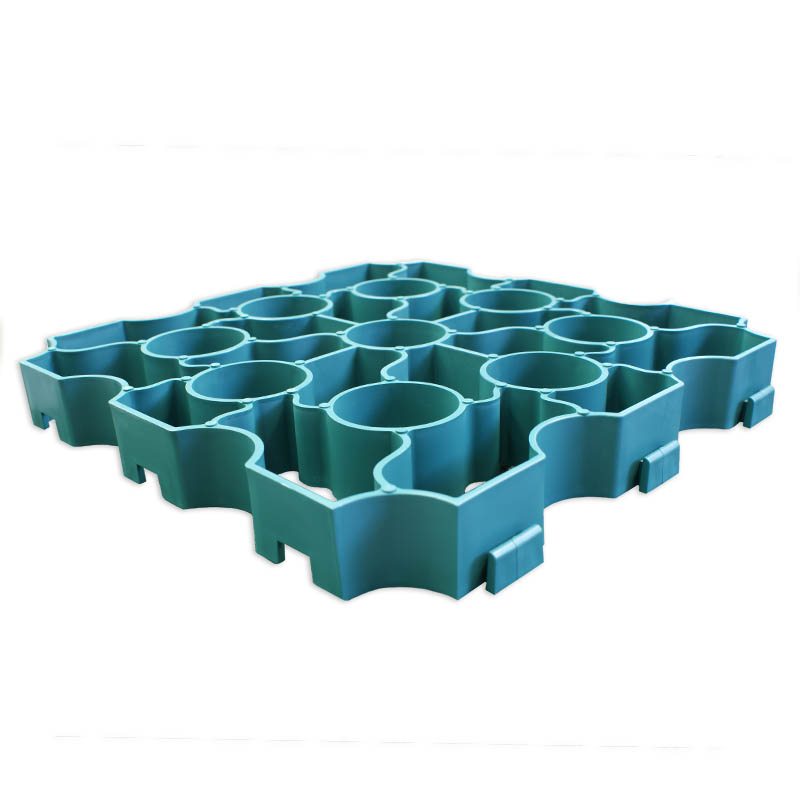
She decided to research Gravel Grids to find a strong yet easy to install grid that she could use. She quickly came across our website and X-Grid. After reading up on the benefits of our permeable paving grid, she was so impressed that she ordered 12m² of Black X-Grid the same day. Keep reading to find out how she got on:
Preparing The Ground
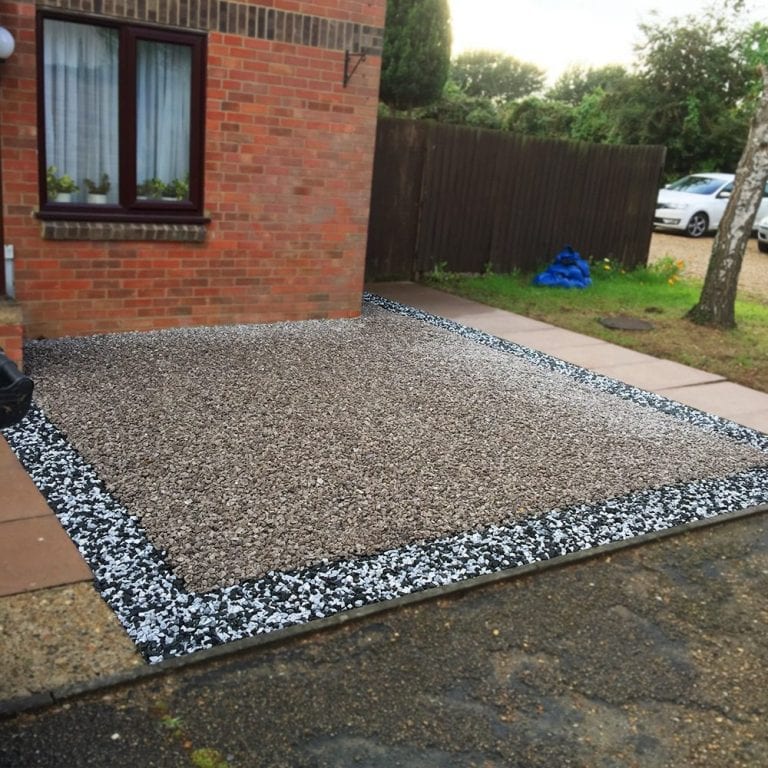
To begin, Filomela had to remove the earth and grass which she was using as her parking space. She dug out the area to a depth of around 50mm and disposed of the removed turf and soil in her garden waste bin. Rather than using X-Grid across the entire space, Filomela installed the grid in a particular section, which is where the car would be parked. In the surrounding areas, she back-filled the area with loose gravel.
In the newly created ‘hole/square’, Filomela laid a layer of hardcore and compacted it down well to create a solid yet still permeable sub-base which would support the X-Grid and allow it to perform to its highest capability.
Laying Membrane
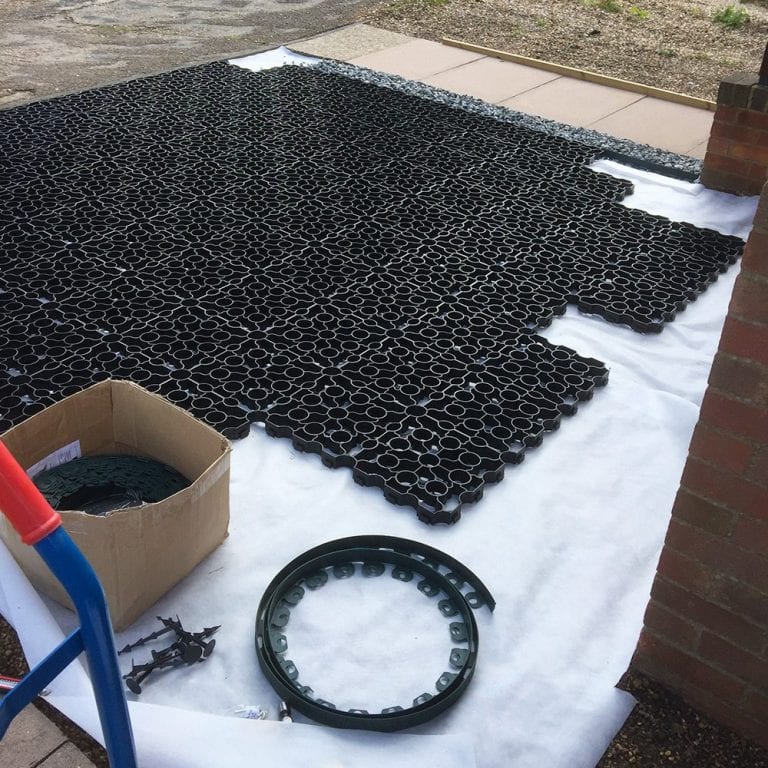
On the now compacted sub-base, Filomela rolled out her sheet of Membrane from the front of the parking space to the back and cut off any excess sheet. She secured the membrane by stapling the sheeting into the ground using Steel U-Pins to ensure the sheet would not move when walked on or blown by the wind before the X-Grid and Gravel were installed.
This is a thermally bonded non-woven geo-textile membrane which acts as a shield to prevent an weeds from growing up and through the base and poking out of your gravel. Although it stops plants from passing it is permeable so any excess water can still drain away naturally through the ground below.
Installing X-Grid
With the membrane now secure, Filomela could begin laying her X-Grid panels. As she knew where the panels would be laid already she could start straight away.
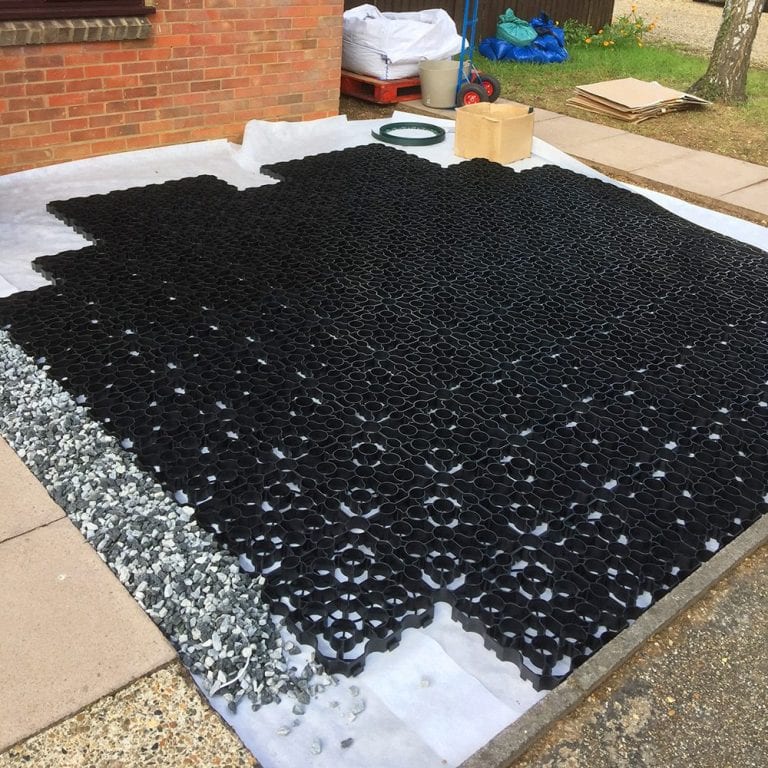
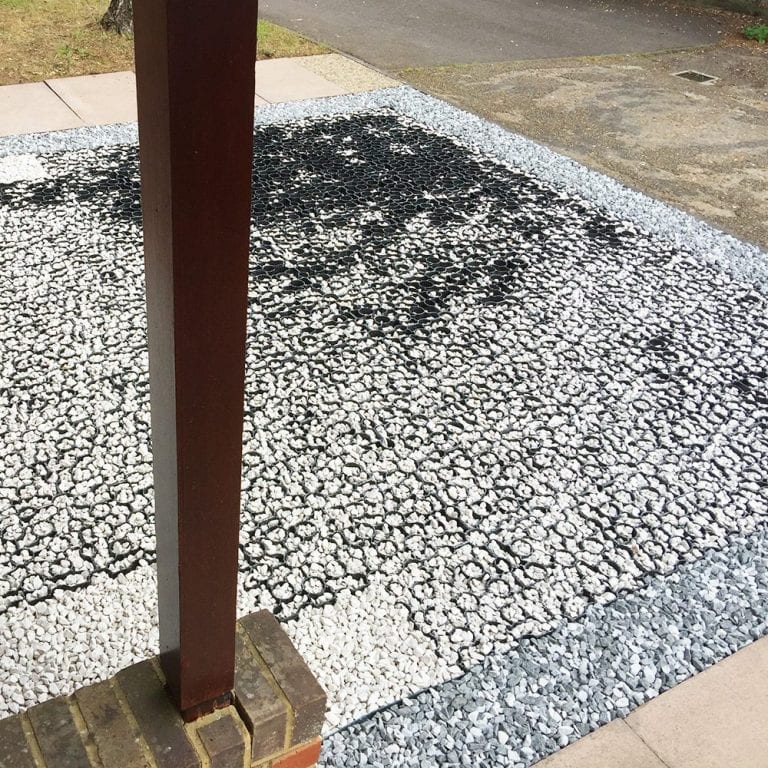
She began in one corner and laid one panel at a time and simply attaching each panel together as she went along using the specially designed slot and peg system. She told us how easy this part of the project was and it took her very little time to complete.
As she was using two different gravels, Filomela installed a Lawn Edging around the X-Grid so the two gravels would not mix and there would be a definitive border between them.
Filling X-Grid With Gravel
Filomela began by using a decorative black, grey and white gravel around the installed X-Grid to create a beautiful border which you can see in the image below.
With the border complete, she set to filling in X-Grid with a grey gravel. We estimate that around 8kg of gravel is needed to fill in each panel so sometimes a lot of gravel can be required to fill a full driveway. Gravel can be bought from any good builders merchant for a good price. Once the entire area was filled all that was left to do was to park her car!
Conclusion
Filomela was and still is incredibly pleased with her new gravel driveway. She has transformed the front of her house by changing her small patch of grass into a decorative gravel driveway. We all think her driveway looks amazing and the use of two different gravels looks great.
A huge thank you to Filomela for the great photos and information she shared to allow us to create this case study, should you have any photos of your project or and questions regarding our products then please do not hesitate to contact us.

