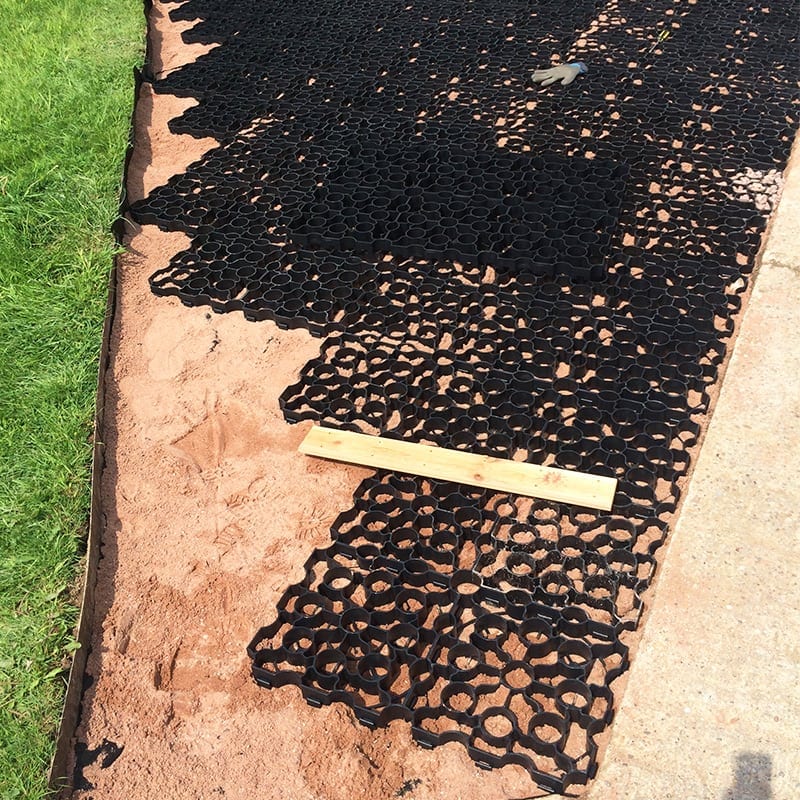
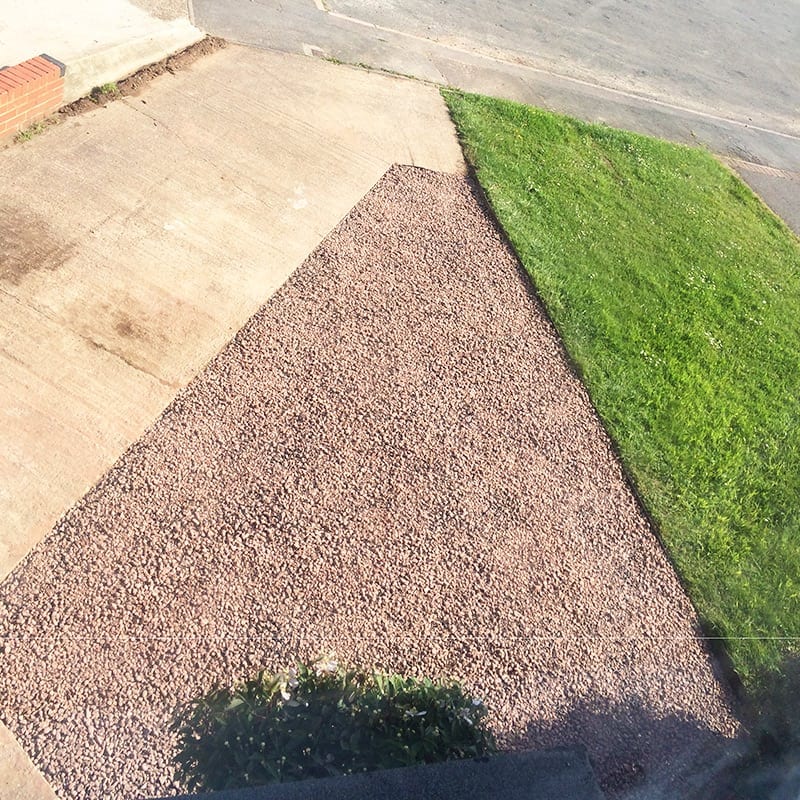
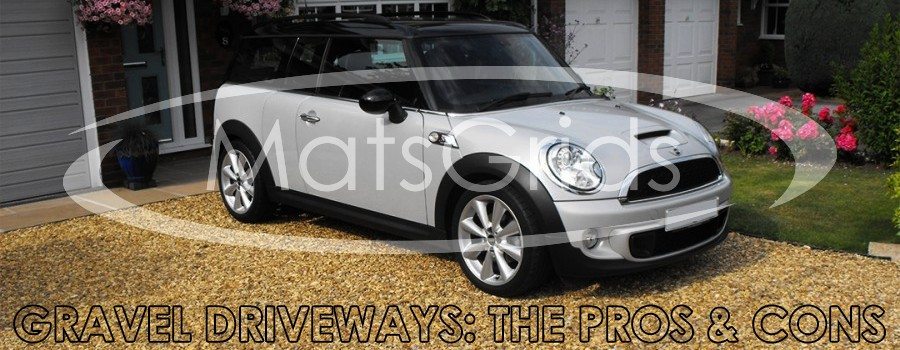
With gravel driveways, it can become tedious work to constantly rake and brush the stones back into place. Time and wear will see your pristine path develop grooves and loose stones will find their way off the driveway. Over time, the quality of your path will diminish and you’ll lose that freshly laid look. Fortunately […]
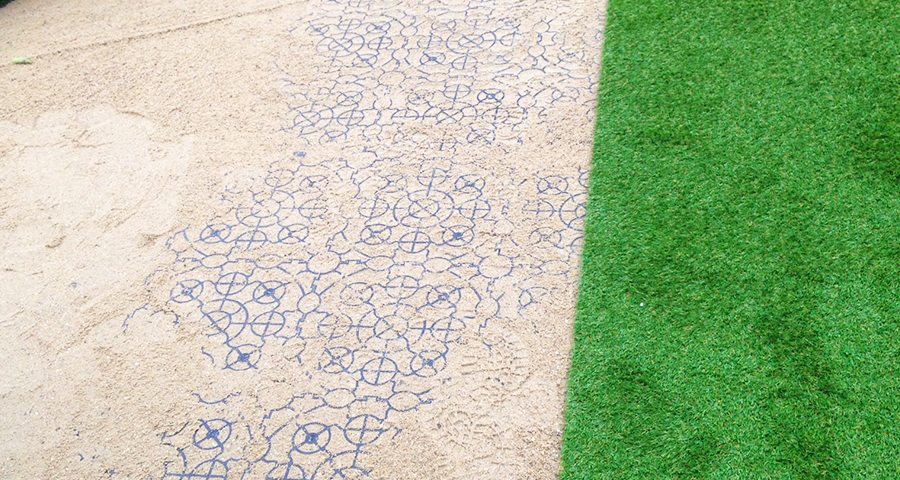
[siteorigin_widget class=”SiteOrigin_Widget_Image_Widget”][/siteorigin_widget] This case study comes from a customer called Brian who was looking to create a hard standing parking area for a small car at the front of his home. Instead of creating a gravel driveway or concrete driveway, he decided to create a solid area and put artificial grass over the top to give […]
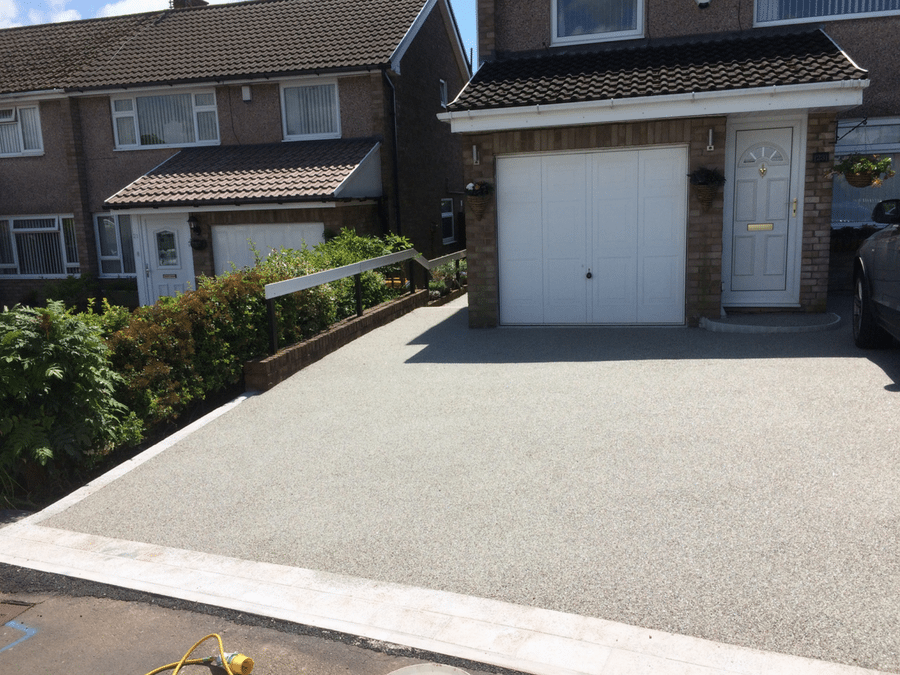
With such a versatile product like our very own X-Grid there are endless possibilities. Just when we think we have discovered everything our grid can be used for a customer will prove us very wrong. A great example that a past customer introduced us to a few years ago, Resin Bound paving, which like our […]