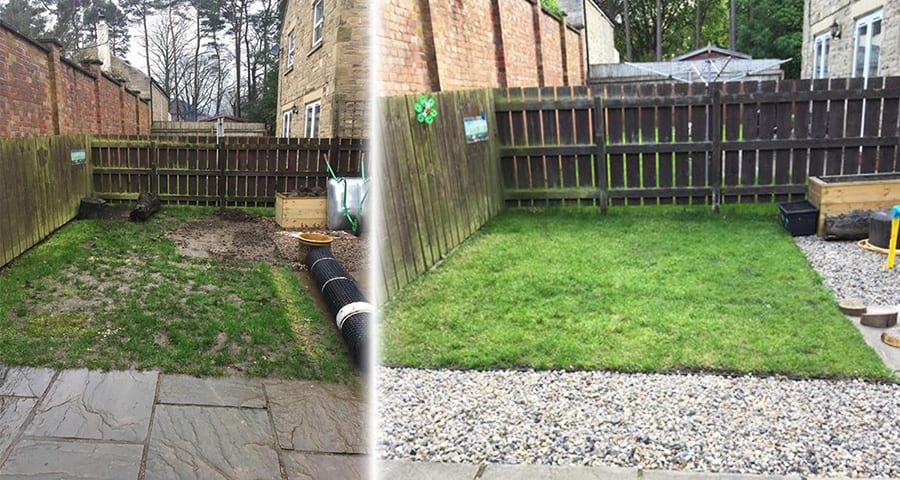
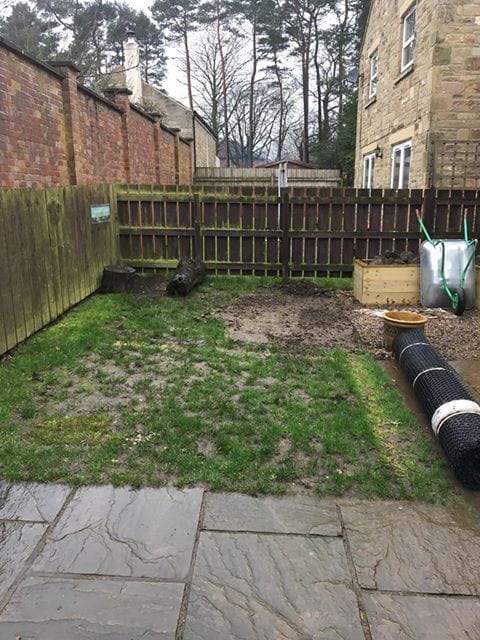
This case study comes from Barbara who had noticed during the winter that her grass had been churned up and become almost a mud patch in places which you can see in a photo in this blog. She decided that she would find a product to install once Winter had passed that would protect the grass from returning to its muddy state again.
Choosing Grass Protection Mesh & Lawn Edging
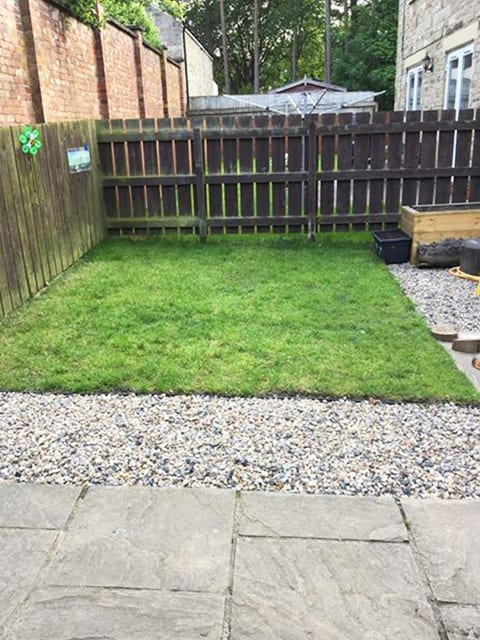
Whilst planning, Barbara decided that she would remove a section of grass that was touching her path and replace it with decorative angular gravel, however to keep the grass and gravel in place she would need a lawn edging product. Thus began her search for a grass protection product and a lawn edging product. The search online lead to our website and our range of products that would meet her needs perfectly.
After browsing our many products, Barbara had decided exactly what she wanted. She ordered 1 roll of GM640 2m x 10m (grass protection mesh), 2 lengths of plastic lawn edging, 1 pack of 20 U-Pins & 2 packs of 10 plastic edging nails. Her order was dispatched and arrived at her home in just 3 working days ready to be installed.
Installing Grass Protection Mesh & Lawn Edging
As soon as her garden was dry enough, Barbara began her installation:
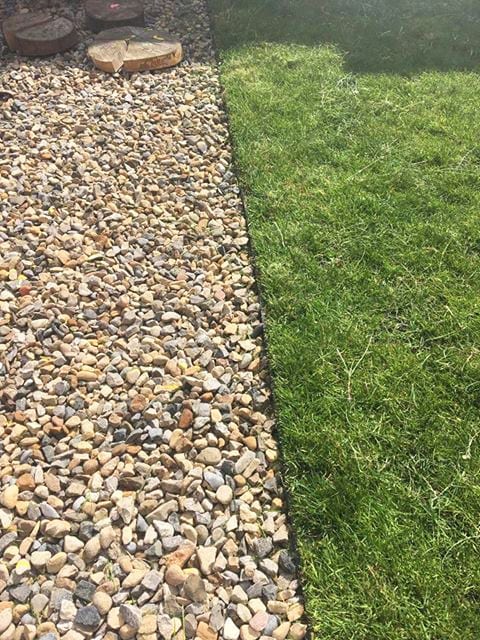
She began by measuring a straight line down her turf which was around a foot in from her path. The line created was where she would dig up to which would enable her to create the gravel section. After digging the existing turf out, she was left with a mud ‘hole’, from here she installed her lawn edging up against the remaining turf before securing in to the ground using the plastic pegs and repeated this process until all of her edging was flush against the grass and secure.
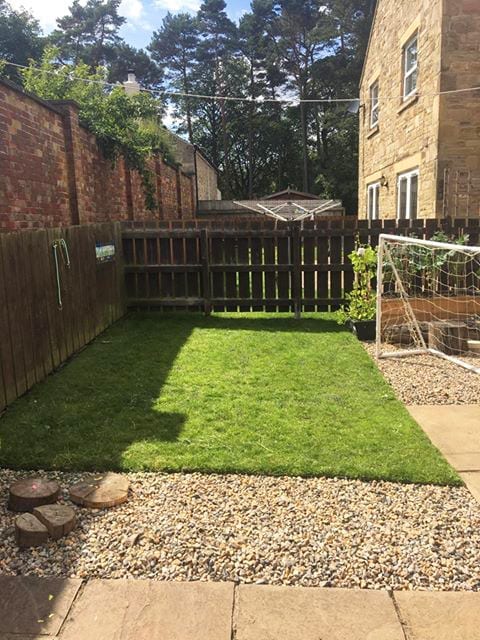
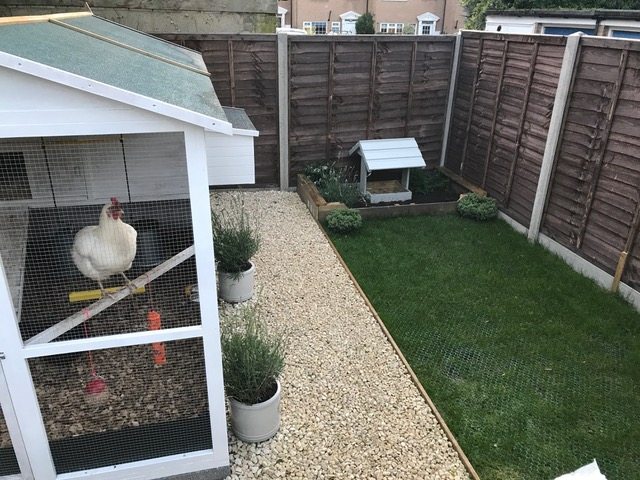
In the gap now left by the excavated turf, Barbara began filling the area with decorative angular gravel. Angular gravel was used as the edges and points should hopefully prevent a large amount of migration. Filling the gap took no time at all and she was soon onto her next and final part of the project.
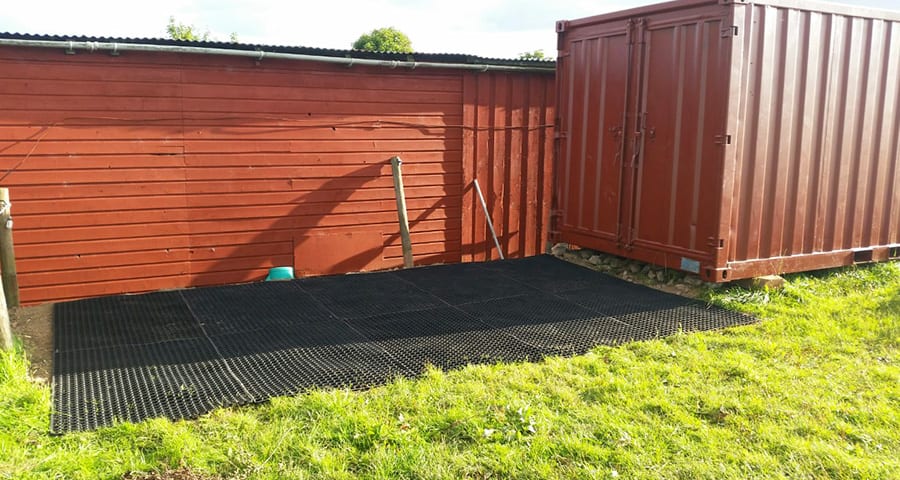
The final job was to install the grass protection mesh. As you can see in the first photo, the mesh is delivered rolled up so has to be unrolled and pinned into place. Barbara did just that and ensured the mesh was flush against the fence or edge of the turf before pinning in place. She repeated this process of ensuring the product was in place before pinning down and moving on. A simple yet very effective installation.
All that was left to do was to wait for her grass to begin growing through the mesh and to enjoy her new and healthy lawn in no time at all.
Conclusion
Barbara is incredibly pleased with her transformed garden and it looks great too! The shortening of the lawn and addition of a decorative gravel edging has worked very and we’re everyone would agree!
A massive thank you to Barbara for sharing the photos and information to allow us to create the case study about her back garden transformation. Should you have any images of your installation to share with us then please do not hesitate to contact us.

