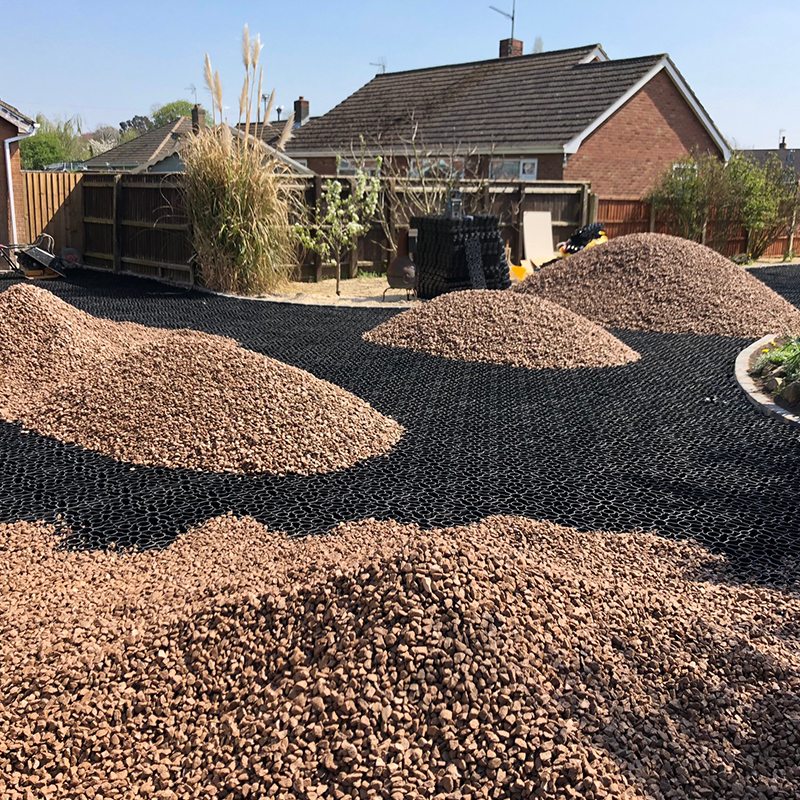
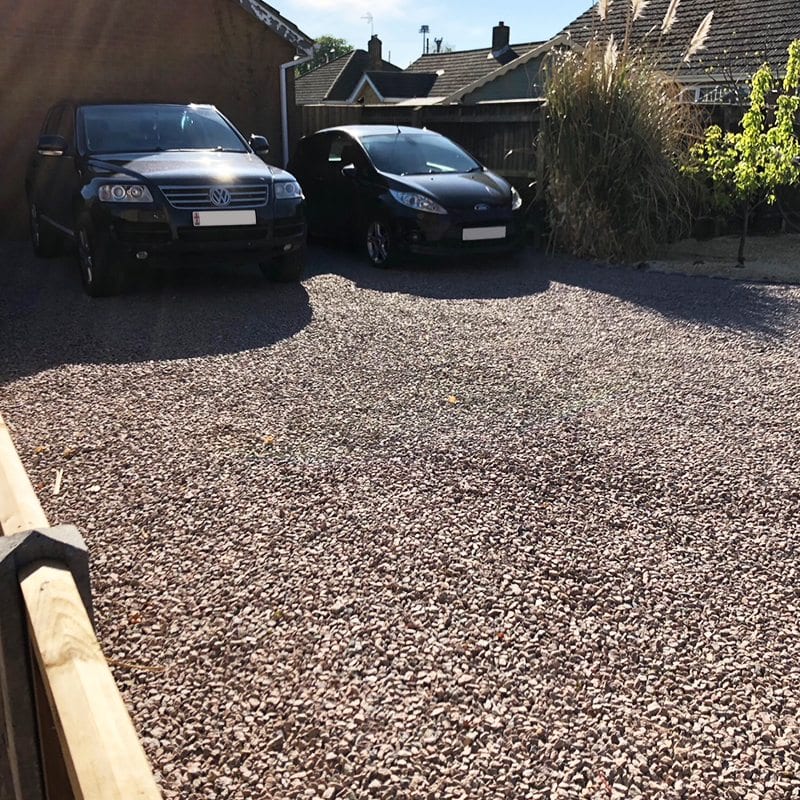
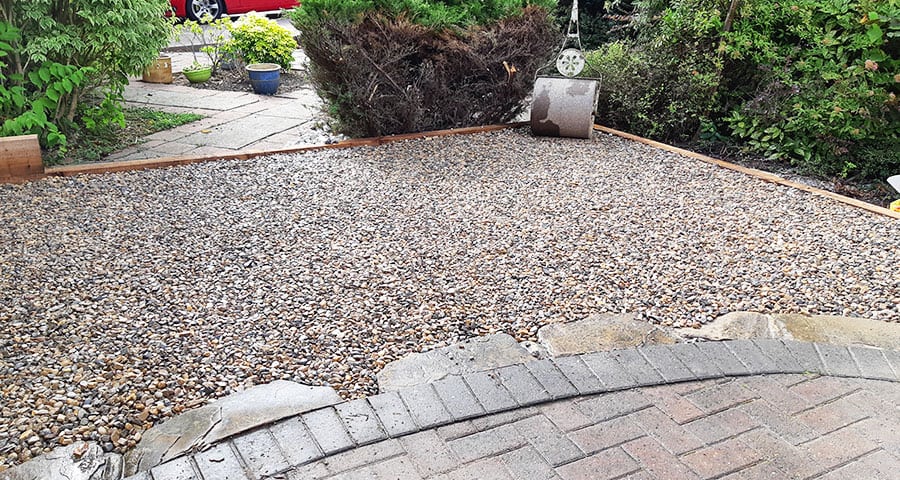
This case study comes from Adam, he was looking to extend his current bricked driveway to create another parking space. Although the existing half was brick, Adam wanted to create a gravel parking space as it would be strong yet simple for him to install alone. The extra parking space in front of his home […]
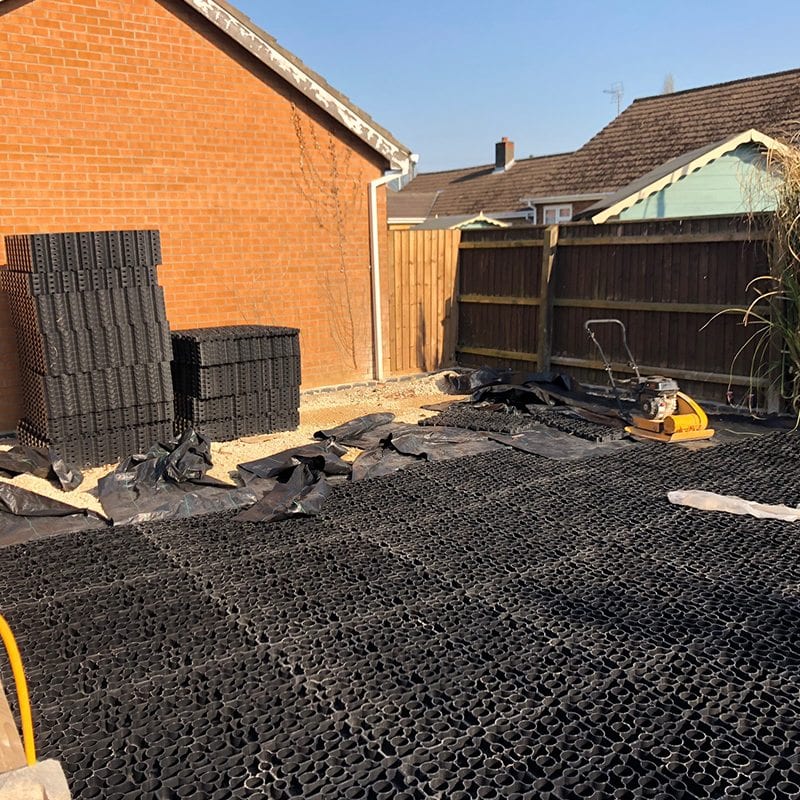
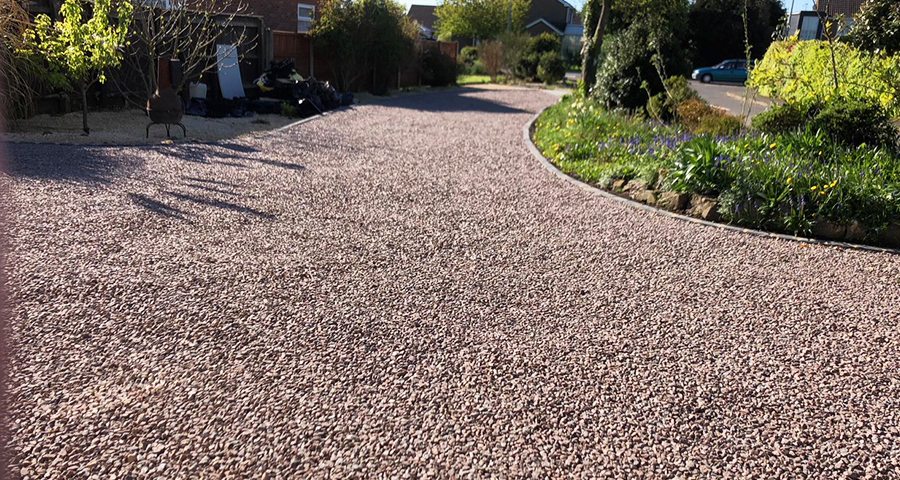
This latest article comes courtesy of Paul who had a large gravel front garden next to his current concrete driveway. He wanted to start parking on part of the garden but it was not suitable due to the strength, possibility of sinking into the gravel and migration. Paul told us: “We replaced the grass on our front […]
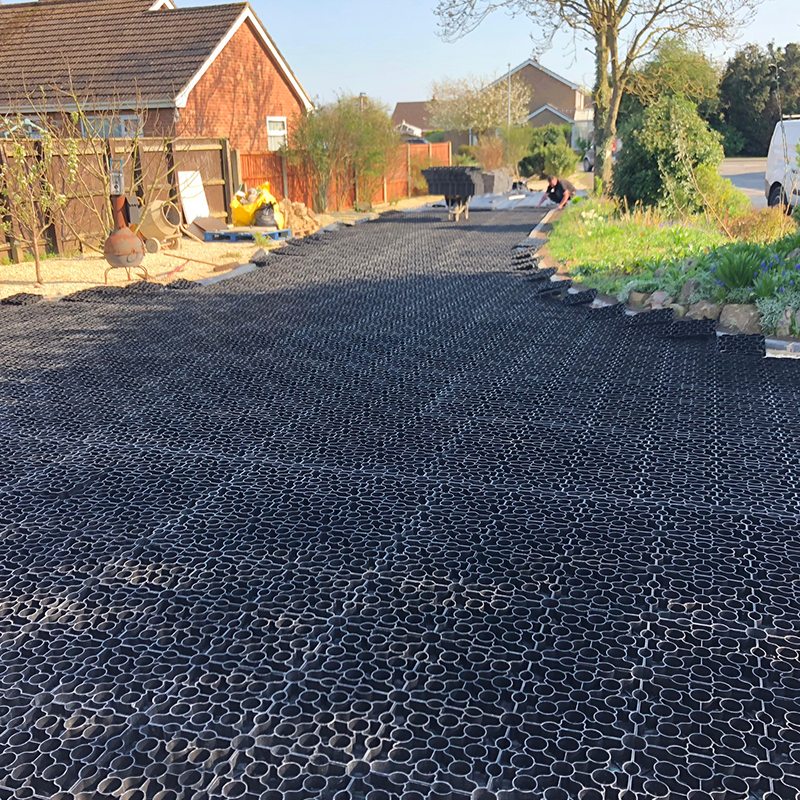
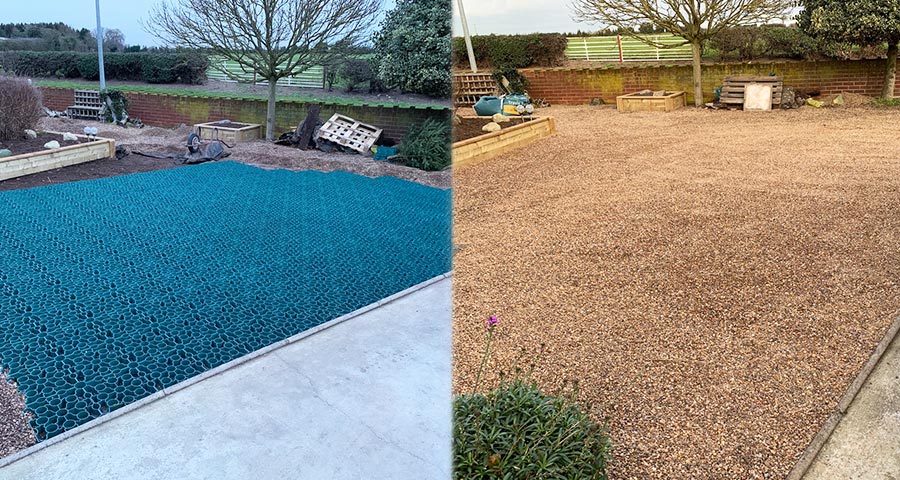
This case study comes from Matt who was looking to transform an area in front of his garden from grass into a strong and decorative gravel driveway. He needed a product that would stop gravel migration, support his car and was not difficult to install or required a lot of curing time like concrete. Matt […]