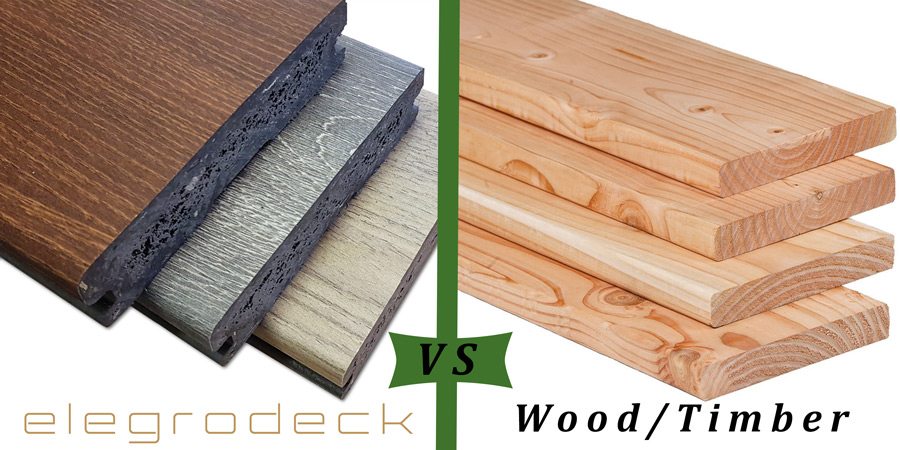
Why choose Elegrodeck Boards over Timber/Wooden Decking Boards? When it comes to choosing the material with which to build or use on your decking, terrace, balcony, walkway, bridge, rooftop garden, outside area or even your penthouse apartment it is incredibly important that you research thoroughly to ensure that product is best for your needs. In […]
The Living Rainforest Once the order had been placed, we spoke to Peter Clark, the Chief Horticulturist at The Living Rainforest. Peter told us all about the charity, what they do and what they aim to achieve by using our rubber grass mats. This is what he said: “The Trust for Sustainable Living operates The […]
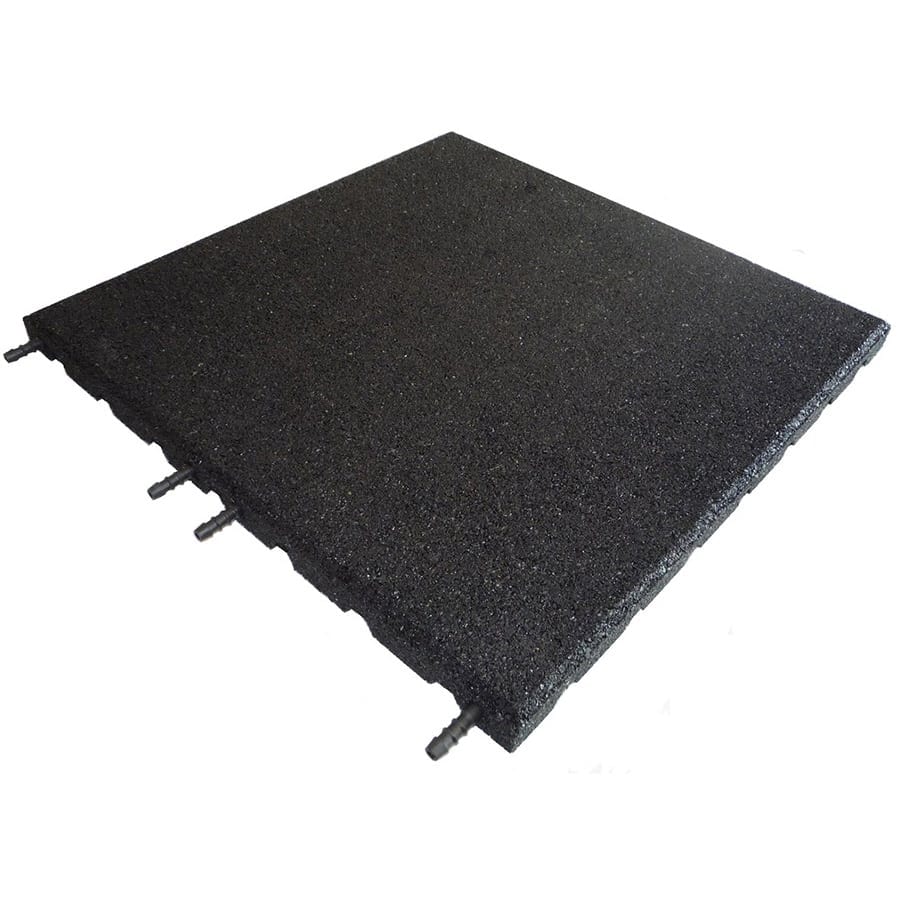
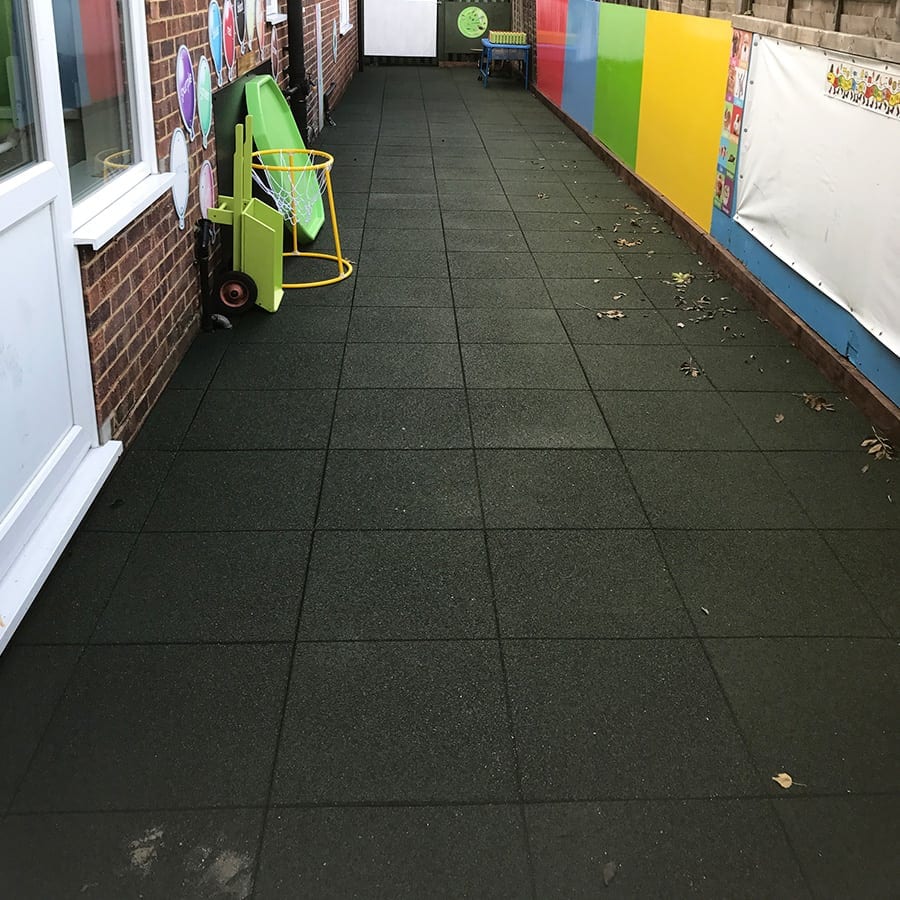
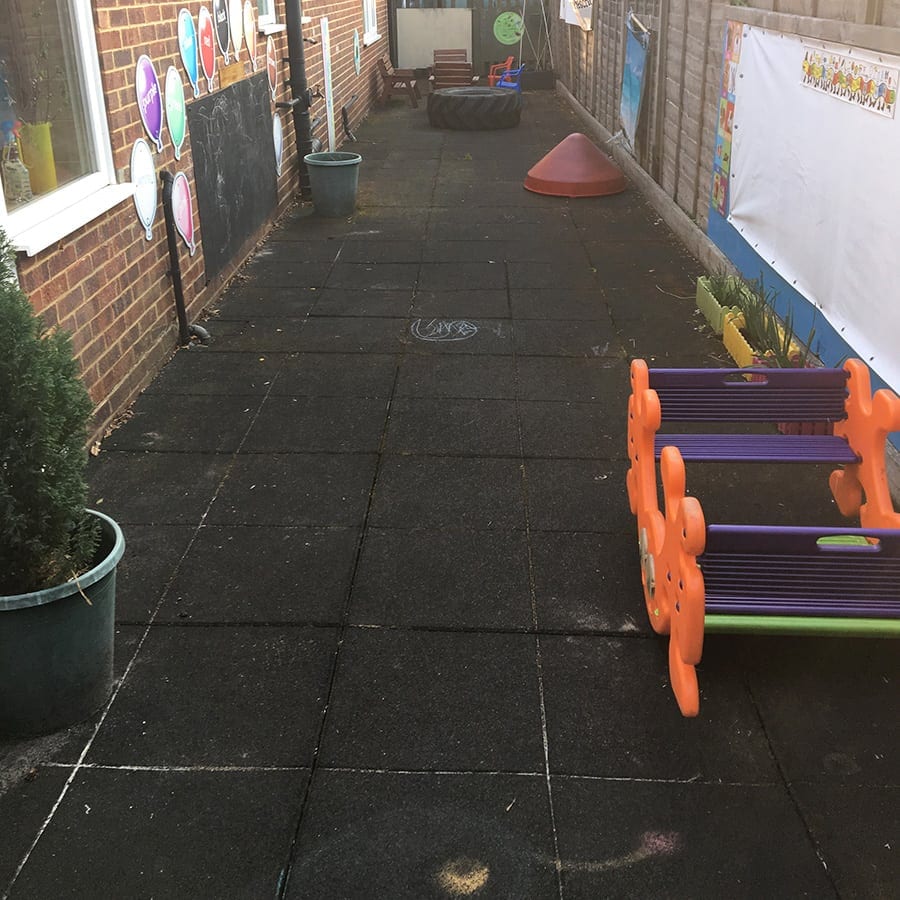
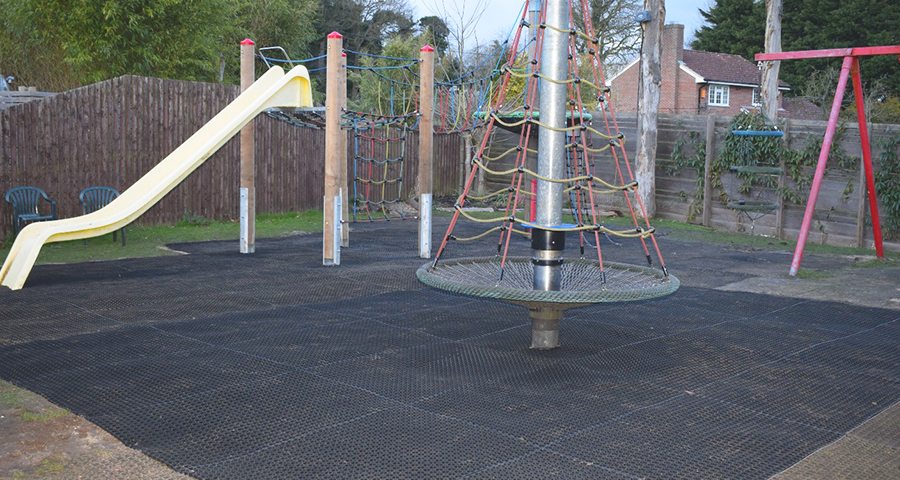
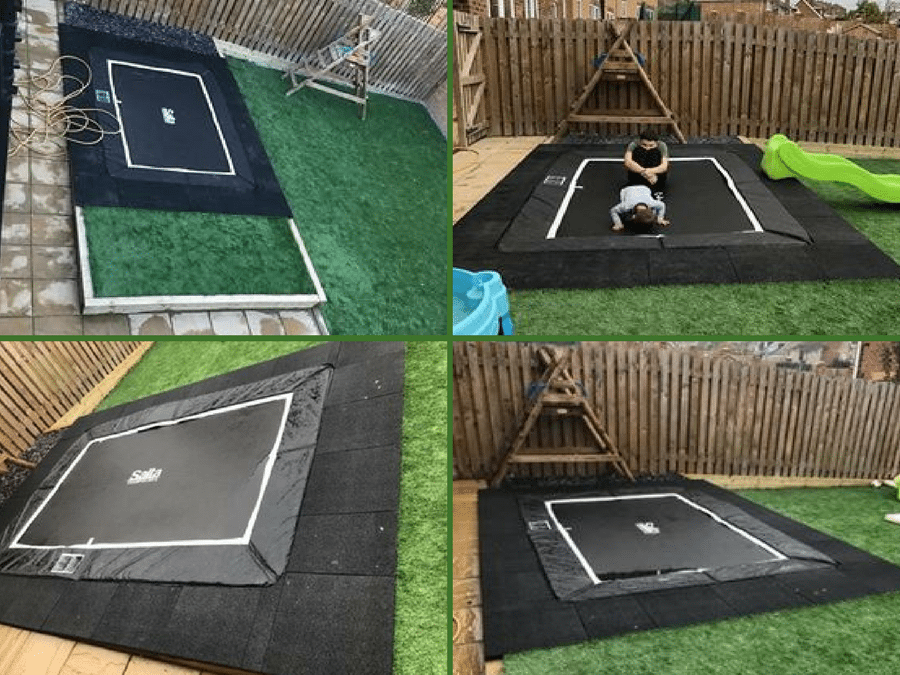
Jump To: | The Project | The Work | Conclusion | The Project This case study comes from our customer Francesca who was looking for a suitable safety matting product to surround her childrens new built in trampoline. She contacted us through our MatsGrids Facebook page to find out more about our Rubber Play Tiles. After giving […]